Debian 13 on a ZWO ASIAIR Pro
Flash the ready-made OpenAstro image to a microSD card and the ZWO ASIAIR Pro (a Raspberry Pi 4B inside) boots straight into a networked gear-control server, with all four 12V DC power ports switched on at boot.
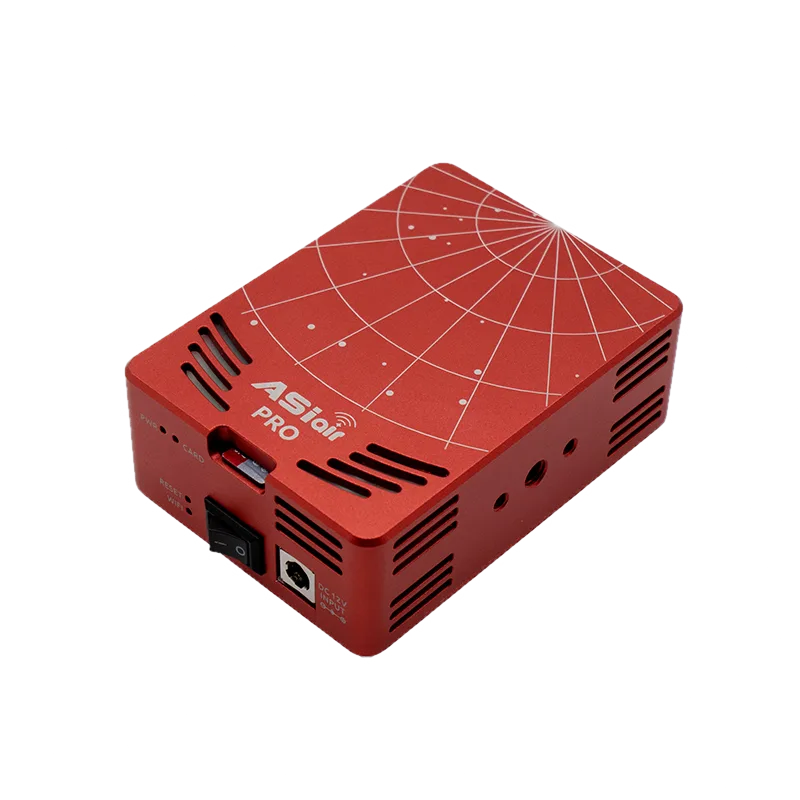
Flash the image
Flash a new SD card and keep the original ZWO card in a drawer. Want the stock ASIAIR back? Swap the original card in and you're done.
-
Download the latest
openastro-zwo-asiair-pro.img.xzfrom the releases page. This is a dedicated ASIAIR Pro build of the OpenAstro Raspberry Pi image with the 12V DC power output ports enabled at boot. No manual boot-config edits needed. -
Write it to a microSD card (8 GB or larger) with Raspberry Pi Imager (click Choose OS, then Use custom, and pick No customisation when prompted, since credentials and WiFi are already baked in), balenaEtcher, or from a terminal:
xzcat openastro-zwo-asiair-pro.img.xz | sudo dd of=/dev/sdX bs=4M status=progress conv=fsyncReplace
/dev/sdXwith your microSD device. -
Insert the card into your ASIAIR Pro and power on. That's it. The device runs entirely from the card, the 12V power ports come on at power-up, and the OpenAstro jingle plays on the built-in buzzer once the system is up.
Full details, build scripts, and a hardware breakdown of the ASIAIR Pro's internals live in the openastro-zwo-asiar-pro repository.
The stock Raspberry Pi OS kernel ships with HIDRAW enabled, and the image bakes in a udev rule granting device access, so ZWO EAF focusers and EFW filter wheels should work out of the box.
Connect to the device
The image comes up with these defaults:
| Setting | Value |
|---|---|
| Hostname | openastro |
| Username / password | astro / astro |
| WiFi access point | OpenAstro-XXXX (2.4 GHz), password 12345678 |
| WiFi AP address | 172.24.1.1 |
| Ethernet | DHCP |
| 12V power ports | On at boot |
XXXX is the last 4 hex digits of the device's WiFi MAC address (for example
OpenAstro-915D), set automatically on first boot so multiple devices at the
same site each get a unique hotspot name. The access point starts at every
boot, so even if the device can't be reached over your network you can always
join its hotspot and log in at 172.24.1.1.
Connect over Ethernet or join the OpenAstro-XXXX WiFi network, then SSH in.
Use one of the following SSH clients depending on your operating system:
- Linux: Terminal (built-in)
- macOS: Terminal (built-in)
- Windows: MobaXterm (or PuTTY, or Windows Terminal)
ssh astro@openastro
Change the default password right away, then update the operating system:
passwd
sudo apt update && sudo apt full-upgrade -y && sudo reboot
Join your own WiFi network (optional)
Change all WiFi settings from the AlpacaBridge web page: open
http://172.24.1.1:6800 while joined to the hotspot (or
http://openastro.local:6800 from your LAN) and use the WiFi card on the
Server tab to scan for networks, join one with its password, and manage the
hotspot's name, password, and band. No command line needed.
The hotspot runs on its own virtual interface, so joining your home WiFi does not take down the hotspot. One radio, one channel: while connected as a client, the hotspot follows the client network's channel. You can also just use the Ethernet port.
AlpacaBridge Comes Preinstalled
The image ships with AlpacaBridge 3.5.1 (with the WiFi manager) already installed from the OpenAstro APT repository and running as a systemd service, so the device works at a dark site straight from the flash. No internet required and nothing to install.
The web portal listens on port 6800: http://openastro.local:6800 from
your LAN, or http://172.24.1.1:6800 when joined to the hotspot.
Keep AlpacaBridge up to date
Updates arrive through apt from the OpenAstro repository. Check
apt.openastro.net to see the latest AlpacaBridge
version and whether your device needs an update. Whenever the device has
internet access, pull the latest release with:
sudo apt update
sudo apt install alpacabridge
This upgrades AlpacaBridge to the newest version even if the image bundled an
older one. Running sudo apt full-upgrade as shown above also picks it up
along with the rest of the operating system.
Continue to Configure AlpacaBridge to set up your devices. If you ever need to reinstall the service manually, the steps are in Install AlpacaBridge.