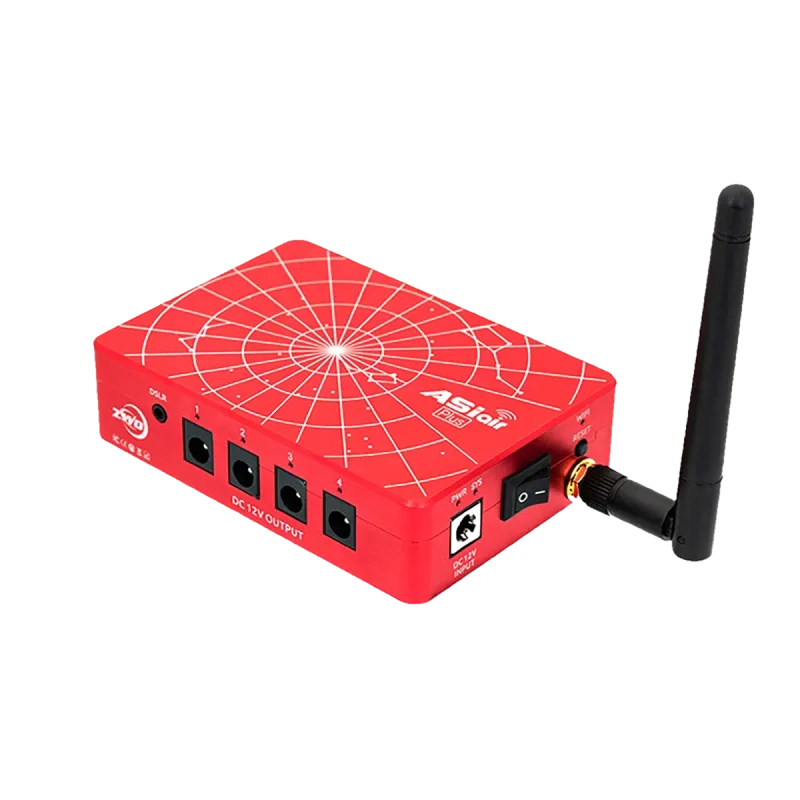
Debian 13 on an ASIAIR Plus (RK3568)
Swap the stock ZWO firmware on the Rockchip ASIAIR Plus for Debian 13 (Trixie) while keeping USB, Wi-Fi, DC ports, LEDs, and GPIO working, with a full rollback to stock any time. A guided installer handles the jailbreak, backup, and flash.
How it works
OpenAstro Linux uses the stock ASIAIR bootloader and kernel. Only the root filesystem is replaced with Debian Trixie, so the boot chain is untouched, all hardware works with the same drivers as stock, the stock partition table is preserved, and you can restore stock firmware at any time from your backup.
In this video I walk through the whole process: jailbreaking the ASIAIR over the network to enable SSH, backing up the stock eMMC, flashing OpenAstro Linux, first boot, and how to restore stock firmware if you change your mind.

Install with the guided script
You need a Linux computer on the same network as the ASIAIR. The open-astro/rk-flashtool repository has the tool and the installer script.
1. Build rk-flashtool
sudo apt install build-essential autoconf automake libusb-1.0-0-dev pkg-config sshpass python3 wget curl
git clone https://github.com/open-astro/rk-flashtool.git
cd rk-flashtool
./autogen.sh && ./configure && make
2. Install the udev rules
sudo cp 99-rk-rockusb.rules /etc/udev/rules.d/
sudo udevadm control --reload-rules
3. Run the installer
Power on your ASIAIR and connect it to the same network as your PC, then:
sudo scripts/install
The installer handles everything automatically:
- Jailbreaks your ASIAIR to enable SSH (over the network, no physical access)
- Backs up all partitions over SSH (about 7.7 GB)
- Downloads the latest OpenAstro Linux image from GitHub releases
- Sets up the WiFi hotspot, enabled by default like the other OpenAstro boards
- Pauses and asks you to enter Loader mode (hold the reset button while powering on)
- Flashes the stock boot chain from your backup plus the OpenAstro Linux rootfs
Total time is about 15 minutes, mostly waiting for the backup transfer.
The backup the installer takes is your only way back to the stock ZWO firmware. Don't skip it, and keep the backup files somewhere safe.
The device reboots automatically after flashing. Disconnect USB and wait about 60 seconds. The OpenAstro jingle plays on the built-in buzzer once the device is up, so you know it's ready without a screen.
The image's kernel ships with HIDRAW enabled, and a udev rule granting device access is baked in, so ZWO EAF focusers and EFW filter wheels should work out of the box.
Connect to the device
The image comes up with these defaults:
| Setting | Value |
|---|---|
| Hostname | openastro |
| Username / password | astro / astro |
| WiFi access point | OpenAstro-XXXX (5 GHz), password 12345678 |
| WiFi AP address | 172.24.1.1 |
| Ethernet | DHCP |
XXXX is the last 4 hex digits of the unit's WiFi MAC address (for example
OpenAstro-915D), set automatically on first boot so multiple units at the
same site each get a unique hotspot name. The access point starts at every
boot, so even if the unit can't be reached over your network you can always
join its hotspot and log in at 172.24.1.1.
Connect over Ethernet or join the OpenAstro-XXXX WiFi network, then SSH in.
Use one of the following SSH clients depending on your operating system:
- Linux: Terminal (built-in)
- macOS: Terminal (built-in)
- Windows: MobaXterm (or PuTTY, or Windows Terminal)
ssh astro@openastro
Change the default password right away, then update the operating system:
passwd
sudo apt update && sudo apt full-upgrade -y && sudo reboot
Join your own WiFi network (optional)
Change all WiFi settings from the AlpacaBridge web page: open
http://172.24.1.1:6800 while joined to the hotspot (or
http://openastro.local:6800 from your LAN) and use the WiFi card on the
Server tab to scan for networks, join one with its password, and manage the
hotspot's name, password, band, and regulatory country. No command line
needed.
You can also just use the Ethernet port.
AlpacaBridge Comes Preinstalled
The image ships with AlpacaBridge 3.5.1 already installed from the OpenAstro APT repository and running as a systemd service, so there is nothing to install after flashing. The OpenAstro jingle plays on the built-in buzzer once the device is up, so you know it's ready without a screen.
The web portal listens on port 6800: http://openastro.local:6800 from
your LAN, or http://172.24.1.1:6800 when joined to the hotspot.
Keep AlpacaBridge up to date
Updates arrive through apt from the OpenAstro repository. Check
apt.openastro.net to see the latest AlpacaBridge
version and whether your device needs an update. Whenever the device has
internet access, pull the latest release with:
sudo apt update
sudo apt install alpacabridge
This upgrades AlpacaBridge to the newest version even if the image bundled an
older one. Running sudo apt full-upgrade also picks it up along with the
rest of the operating system.
Continue to Configure AlpacaBridge to set up your devices. If you ever need to reinstall the service manually, the steps are in Install AlpacaBridge.
Restore stock firmware
To go back to the original ZWO firmware at any time, enter Loader mode (hold the reset button while powering on) and run:
sudo scripts/restore-stock
This restores just the root filesystem from your backup. The boot chain was
never modified, so nothing else needs to be restored. If the device is
bricked and won't enter Loader mode, sudo scripts/restore-stock --full does
a full restore (requires Maskrom mode via eMMC shorting; see the
rk-flashtool README).